
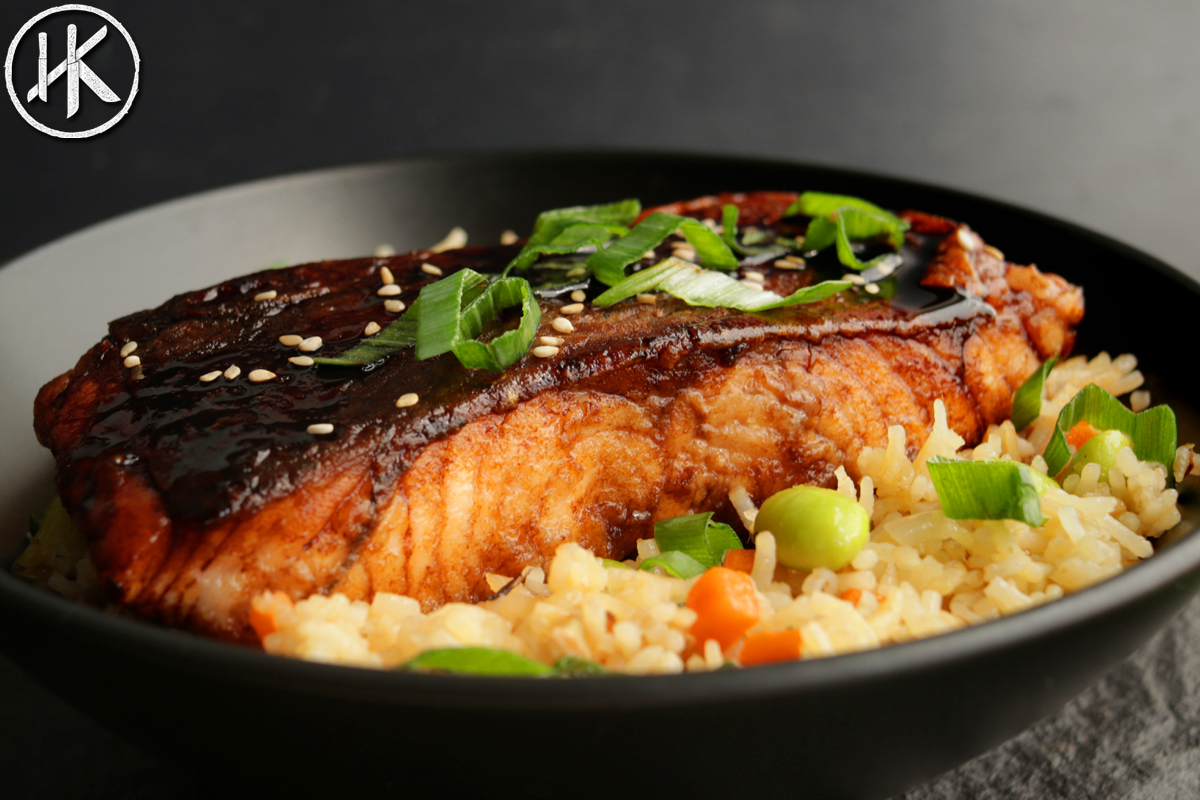
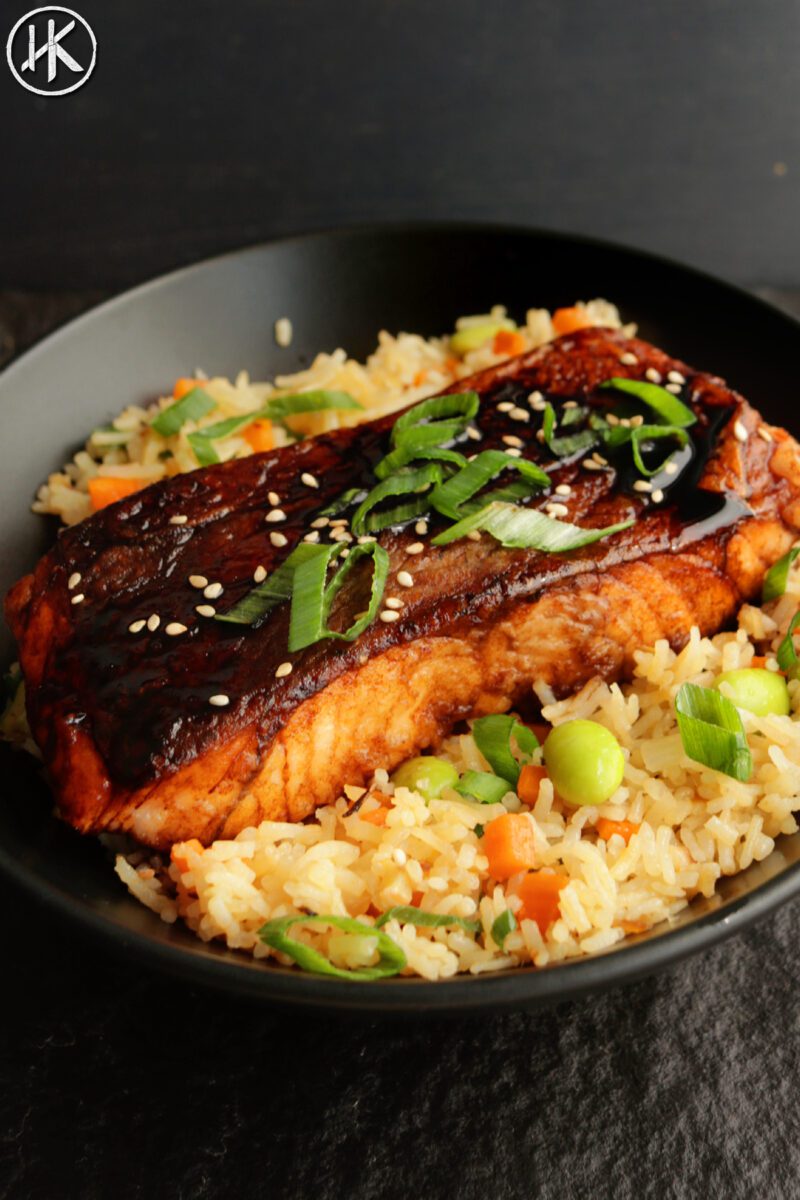
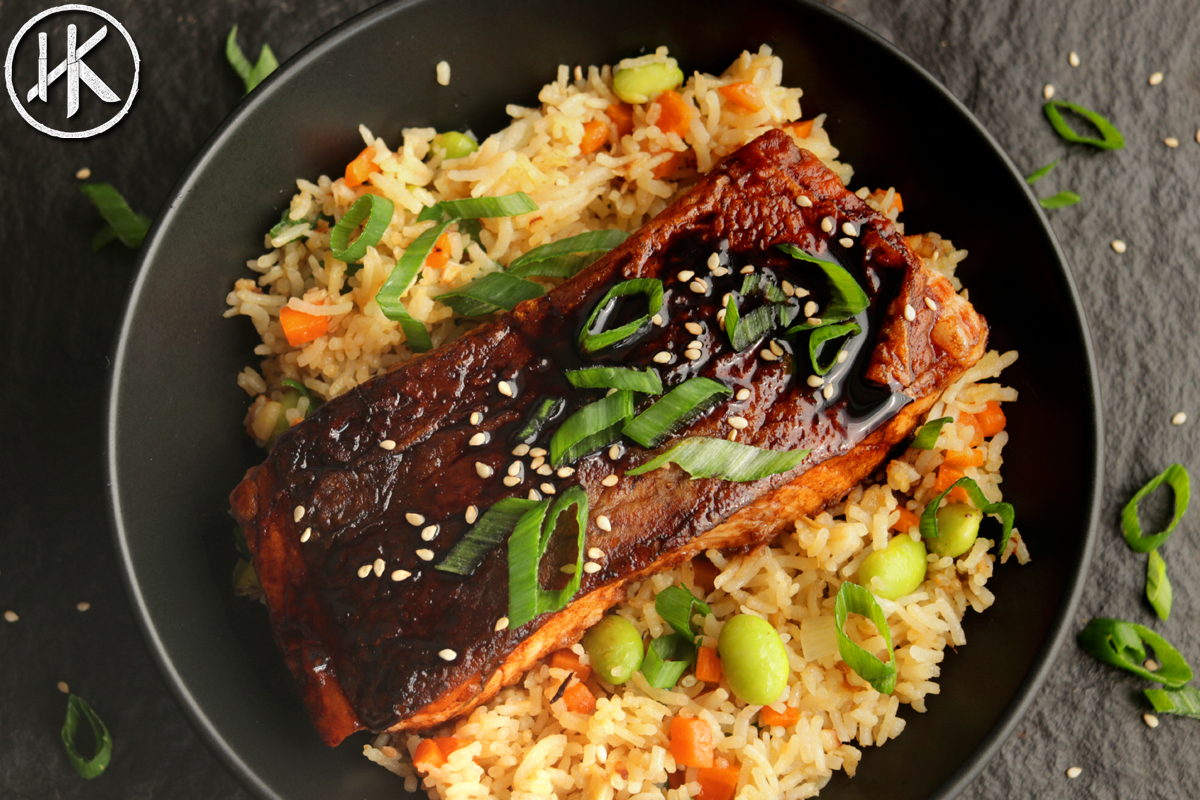
Salmon Teriyaki with Fried Rice
Bring a touch of Japanese cuisine to your table with this easy-to-make Salmon Teriyaki with Fried Rice recipe. Perfect for those who love the combination of sweet and savory, this dish pairs glazed salmon with fragrant fried rice, creating a delicious meal.
Step by Step Video Instructions
Ingredient Notes
- Soy Sauce: This provides the base umami flavor for the teriyaki sauce. For a less salty option, consider using a low-sodium soy sauce.
- Cooking Sake & Mirin: These Japanese rice wines contribute sweetness and depth to the teriyaki sauce.
- Sugar: Essential for the balance in the teriyaki sauce, adding a hint of sweetness to complement the savory flavors.
- Salmon Fillets: Ensure the salmon is of good quality, with a bright color and firm texture.
- Flour: Used for lightly dusting the salmon to help adjust a thick glaze.
- Oil: Choose a high smoke point oil, like canola, sunflower, or peanut oil, for frying the salmon and rice.
- Scallion, Ginger, Garlic: These aromatics form the flavor base of the fried rice. Fresh is best for optimal flavor.
- Carrot & Edamame: Add color, texture, and nutritional value to the fried rice.
- Day-Old Cooked Rice: Ideal for making fried rice as it’s drier and firmer, helping to prevent the rice from becoming mushy when stir-fried.
- Miso Butter or Miso Paste Mixed with Butter: This adds a rich, savory umami flavor to the fried rice.
- MSG (Optional): Enhances the savory depth of the fried rice.
Expert Tips
Crispy Salmon Skin: To get that perfect crispy skin on the salmon, ensure the skin side is well-seasoned with salt and the fillet is patted dry before frying.
Teriyaki Sauce Reduction: When reducing the teriyaki sauce to a glaze, watch closely to avoid burning. The ideal consistency is thick enough to coat the back of a spoon, enhancing the flavor without overpowering the salmon.
Fried Rice: Use day-old rice for the best texture. If the rice clumps together, break it apart gently with your spoon or a fork before adding it to the wok.
Storage and Leftovers
Allow the salmon and fried rice to cool to room temperature. Transfer the cooled salmon and rice into separate airtight containers. Consume the stored salmon and fried rice within 1-2 days to ensure they maintain their flavor and freshness.
To reheat both the salmon and fried rice, cover them and microwave for 2-3 minutes until heated through.
FAQs
While not mandatory, day-old rice is preferred because it’s drier and less sticky, making it ideal for stir-frying. If using fresh rice, spread it out to cool and dry a bit before cooking.
Absolutely! Simply use gluten-free soy sauce and ensure all other ingredients like miso paste are gluten-free. This small adjustment will make your dish suitable for those with gluten sensitivities.
Salmon is done when it flakes easily with a fork and has a slightly opaque center. It’s important not to overcook it to maintain its tenderness and moisture.
Recipes You May Like:
- Bang Bang Shrimp
- Chicken Fried Rice
- Chicken Karaage
- Keto Sesame Crusted Salmon
- Keto Pan Seared Salmon

Salmon Teriyaki with Fried Rice
Ingredients
Teriyaki sauce (makes approx 4-6)
- 250 ml Soy Sauce
- 200 ml Cooking Sake
- 200 ml Mirin
- 75 g Sugar
Salmon
- 150 g Salmon Fillets
- Salt to season
- Oil for frying
- Flour for dusting
For the fried rice
- 1 tbsp Oil
- 1 Scallion white and green parts separated, chopped
- 5 g Ginger minced
- 10 g Garlic minced
- 1 small Carrot diced (about 30g)
- 50 g Edamame
- 300 g Day-old Cooked Rice
- 2 tbsp Miso Butter or 1 tbsp Miso Paste mixed with 1 tbsp Butter
- 1 tsp MSG optional
Instructions
- Season the skin side of the salmon fillets with salt. Set them aside.
- Prepare the teriyaki sauce: In a small saucepan, combine soy sauce, cooking sake, mirin, and sugar. Heat over medium-low, stirring until the sugar dissolves. Remove from heat, let it cool, then transfer to a container for later use.
- Pat the skin side of the salmon dry with kitchen paper. Lightly dust both sides of the fillets with flour.
- In a sauté pan, heat oil over medium heat. Once hot, place the salmon fillets in the pan, skin-side down. Fry until the skin is crispy. Sear the sides briefly, then lay the fillets on their bottom side, cooking until they are 80% done. Remove from the pan and set aside.
- Pour the teriyaki sauce into the same pan and reduce it over heat until it thickens into a glaze. Return the salmon to the pan, basting with the teriyaki glaze until fully cooked. Turn off the heat and leave the salmon in the glaze.
- For the fried rice, heat oil in a large wok. Sauté the white parts of the scallion, ginger, and garlic until aromatic. Add carrots and stir-fry for 2-3 minutes.
- Add edamame to the wok and stir-fry for a minute. Then incorporate the cooked rice, followed by the miso butter and MSG. Continue stir-frying until the rice is hot and well combined.
- Finish the fried rice by stirring in the green parts of the scallion. Serve the fried rice with the teriyaki glazed salmon and a sprinkle of sesame seeds.